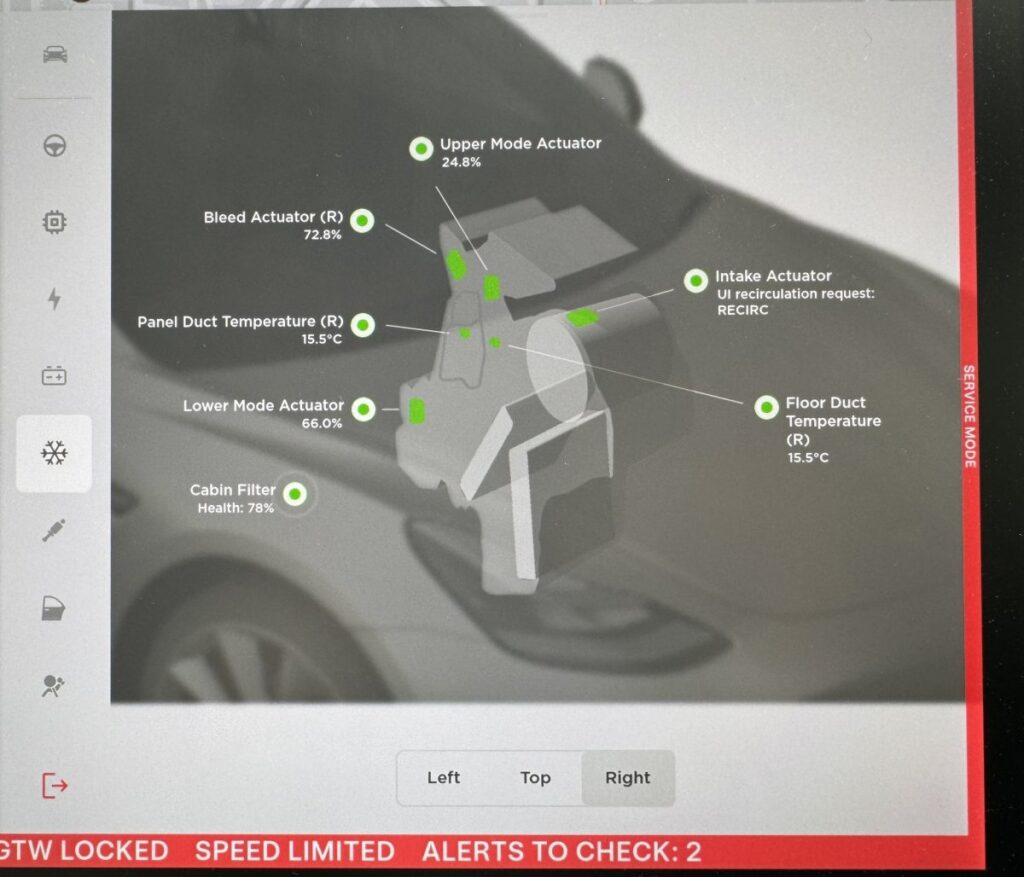
One of the latest updates to Tesla’s Service Mode now allows users to check the health of their vehicle’s cabin filter and the HEPA filter for Bio-Weapon Defense Mode. This feature is beneficial for both Tesla owners and technicians who want to monitor their vehicle’s air quality.
Cabin Filter Health Check
To access your vehicle’s cabin filter health data, you will need to activate Service Mode. If you’re unfamiliar with this feature, you can refer to our guide on how to enable Service Mode.
Once Service Mode is enabled, navigate to the HVAC section to view your vehicle’s HVAC system, including a health meter for the cabin filter and HEPA filter (if applicable). The health meter displays a percentage, indicating the filter’s condition. A lower number suggests that the cabin filter may need replacement. However, some users have reported values exceeding 100%. The health meter estimates the remaining lifespan of your Cabin Air filter.
Tesla likely calculates the cabin filter’s health based on factors such as the filter’s age, HVAC system usage hours, and fan speed. Users with older Intel-powered infotainment units may see a different display format for their cabin filter health.
Replacement Recommendations
Tesla typically recommends replacing the Cabin Air Filter every 2 years and the HEPA filter (for Bio-Weapon Defence Mode-equipped vehicles) every 3 years. However, actual replacement intervals may vary depending on usage and contamination levels.
Tesla’s unique continuous air filtration system helps maintain clean cabin air by constantly running air through the filter, even in recirculation mode. This sets Tesla apart from most other manufacturers, who only filter outside air when it enters the cabin.
Replacing the Filters
Replacing the Cabin and HEPA Air filters is a straightforward process that can potentially be done as a DIY task. Tesla provides specific instructions for each model on how to replace the filters. However, basic steps typically involve turning off Climate Control, removing the passenger-side floor mat, and following a series of steps to access and replace the filters.
It’s important to exercise caution during the replacement process, as high-voltage connections pass through the HVAC module. Refer to your vehicle’s instructions and avoid touching electrical components.
Basic Replacement Steps
1. Turn off Climate Control
2. Remove the passenger-side floor mat and adjust the seat position
3. Release clips holding the footwell cover and disconnect electrical connectors
4. Use a trim tool to release the panel from the center console
5. Remove the cabin filter cover screw
6. Replace and install new filters
7. Reassemble the components
These steps may vary depending on your vehicle’s configuration and model year. Note that legacy vehicles without a heat pump may have different procedures for filter replacement.

